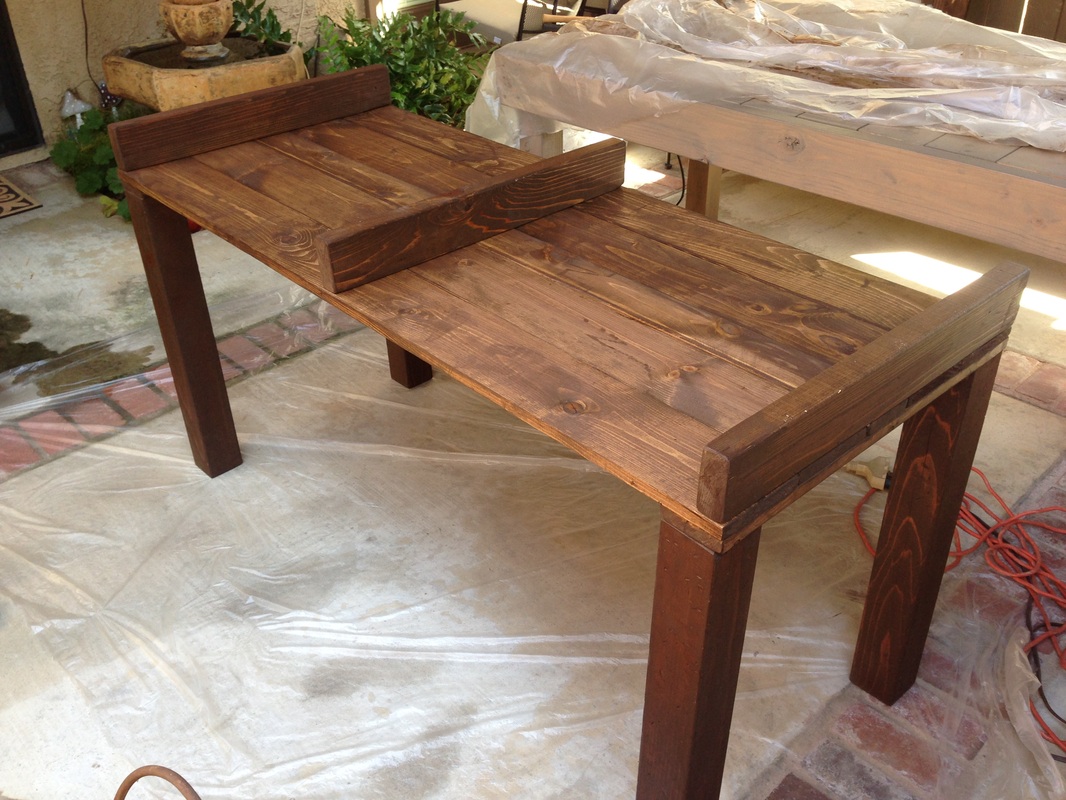
So what do you do when you need a desk, but can't find anything you like? You make one! After months of searching, I couldn't find any desks that satisfied my picky taste, for a reasonable price. After consulting Pinterest, and my dad's construction knowledge, we spent months planning out the best way to build a cool, modern, rustic desk. At first, I thought I could use a pallete and turn it into a desk. A house down the street happened to be under construction, so after some sweet-talking, we actually were able to take a few home with us. After trying to manipulate them, we realized that they are too hard to take apart and work with, so we decided to start from scratch. The tab ran about $100 for everything, including everything from the lumber to the stain. I have to give some credit to "Funky Junk Interiors" for the photo below that gave us some inspiration for the structure of the desk. With the help of some extra hands, we got this puppy put together and finished in only ONE day! Check out the how to below!
The Inspiration:

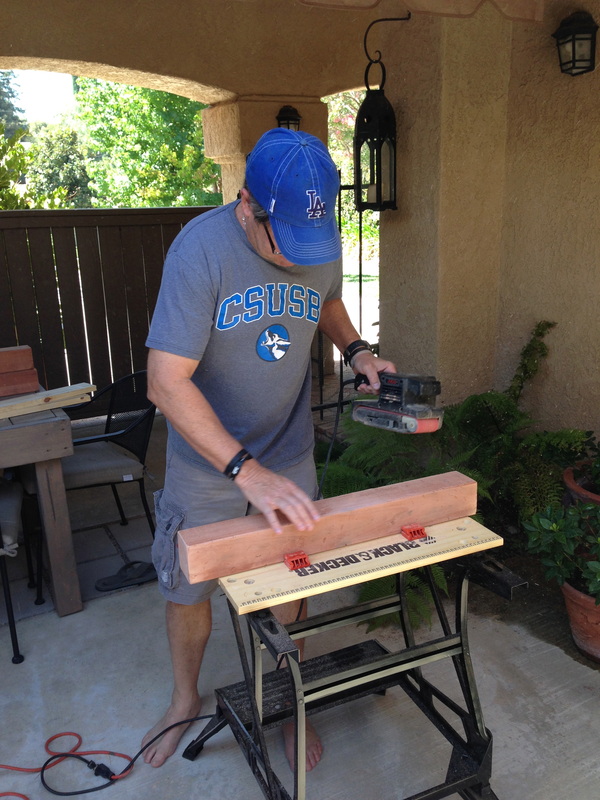
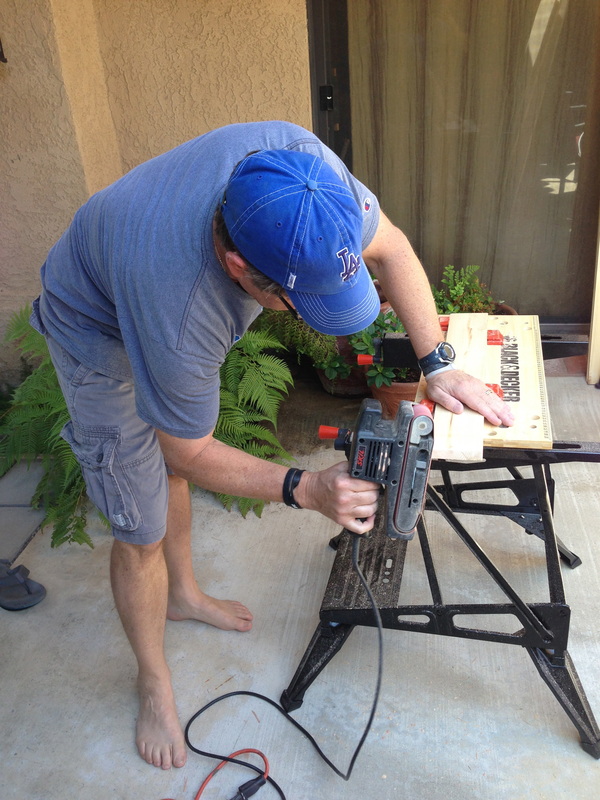
Step One:
Prep your lumber by sanding it to desired smoothness, and shape. If you want the edges to be rounded, etc... now is the time to make your wood look the way you want it.
 |  |
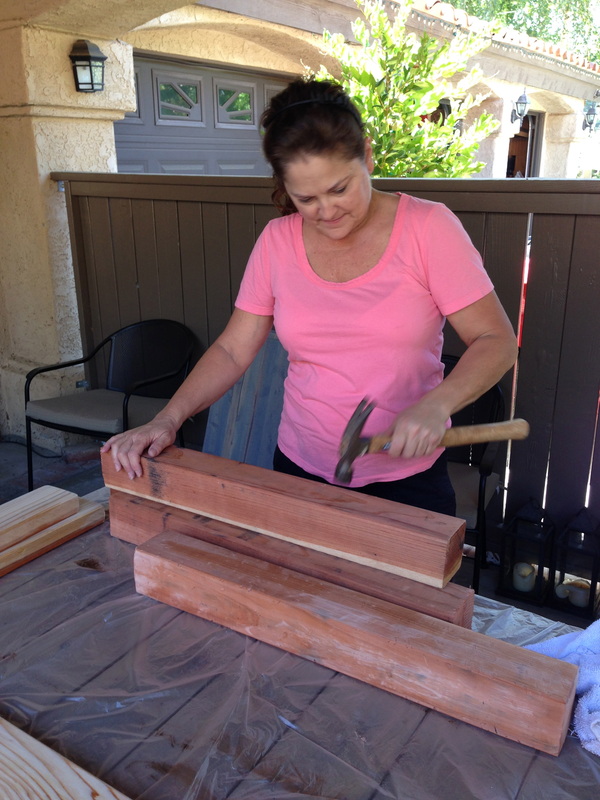
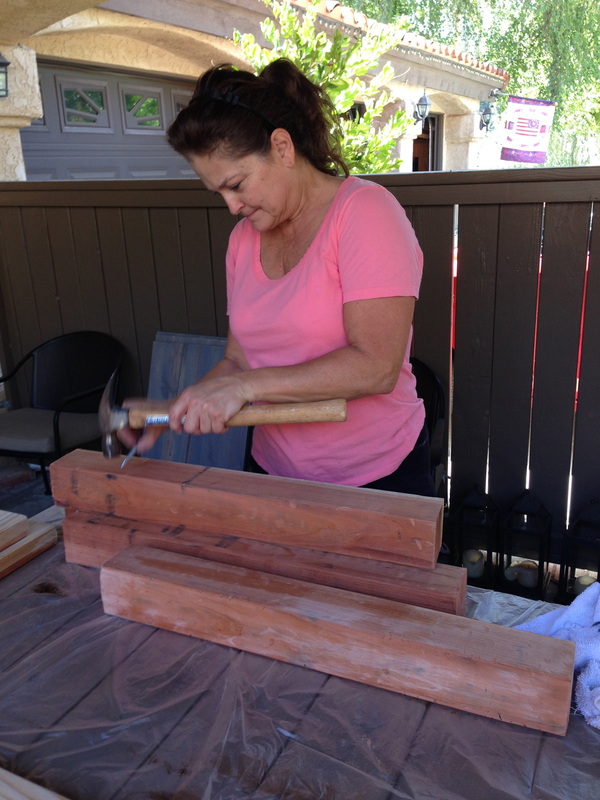
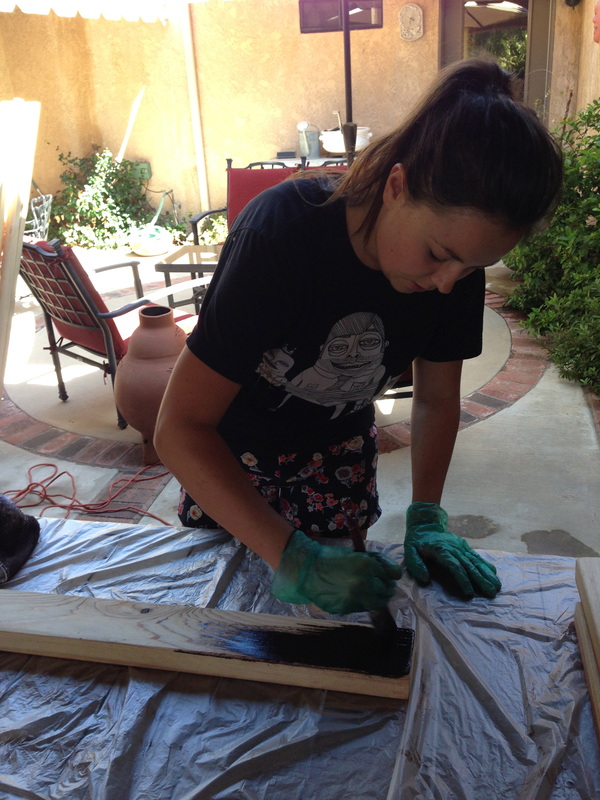
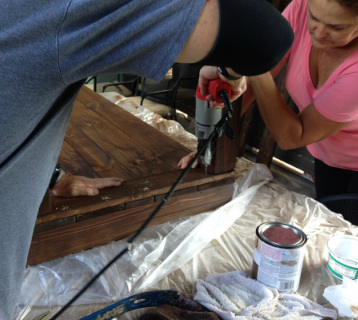
Step Two:
Another thing that we did, was distress the wood to make it look worn, vintage, and rustic. This is the time to take out all your aggression on the wood. We used all kinds of weird tools.. including... but not limited to: hammers, graters, a spiked dog collar, and screws. This will give the wood a really cool look, and give you lots of nooks and crannies for the stain to sink into, and make it look vintage.
 |  |
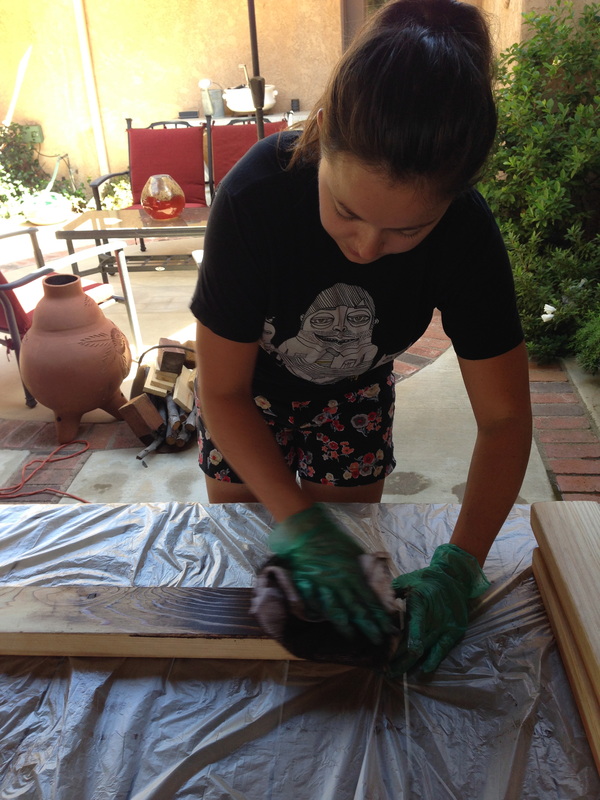
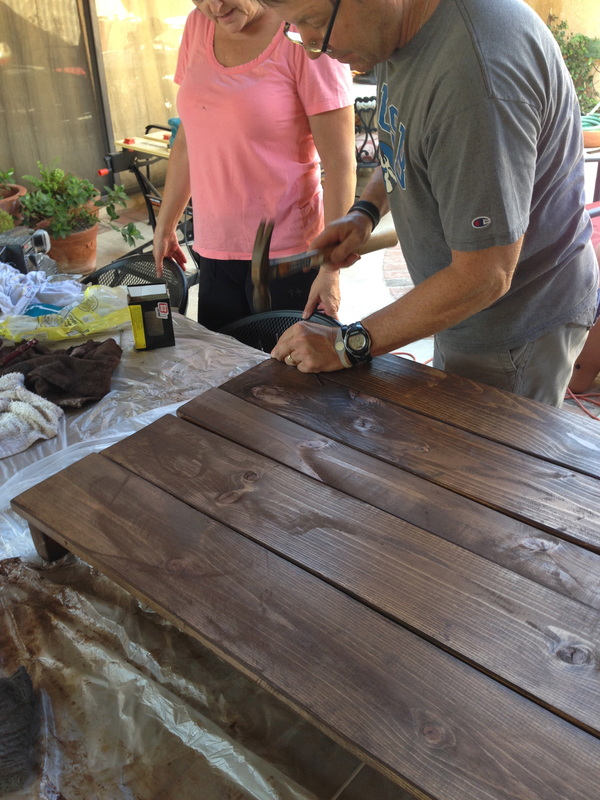
Step Three:
You will also want to stain all of the wood prior to assembly. I applied a dark brown stain by brushing it on with a brush and then wiping down with an old towel so the color was even, and not too saturated. After I assembled the desk I used a spray polyurethane sealer to protect the desk.
 |  |
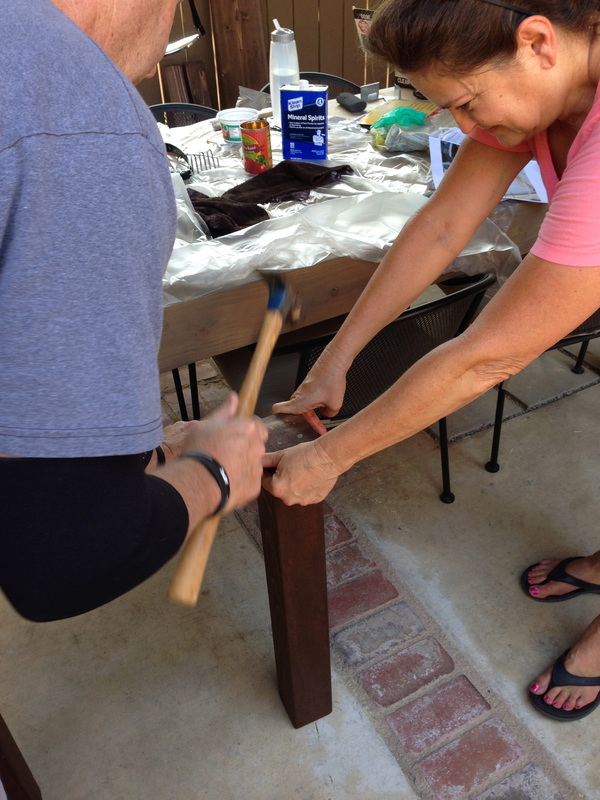
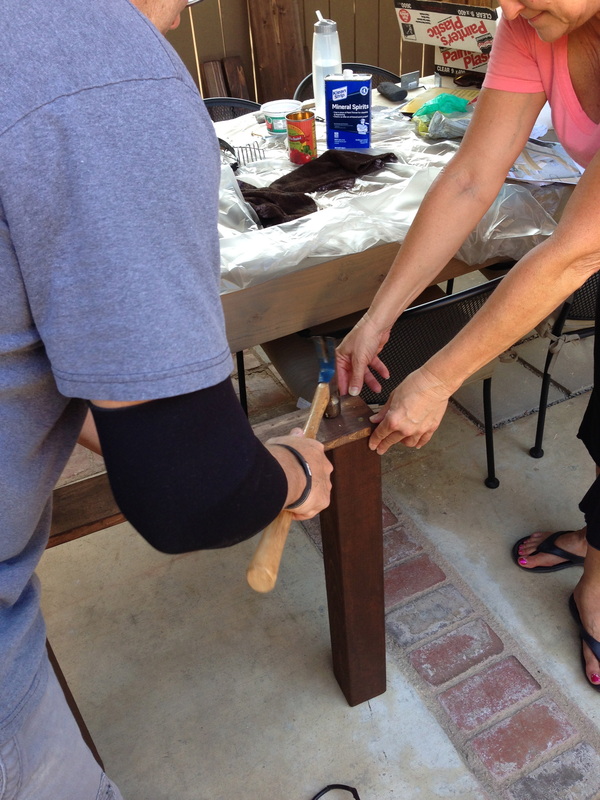
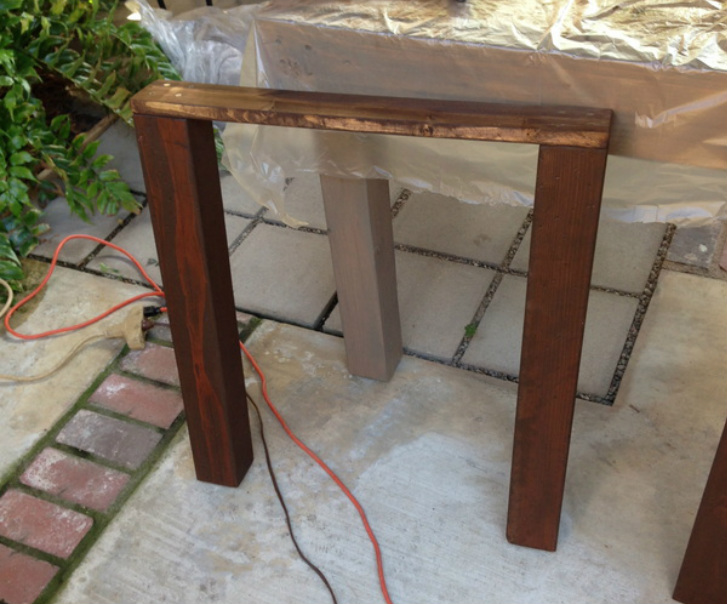
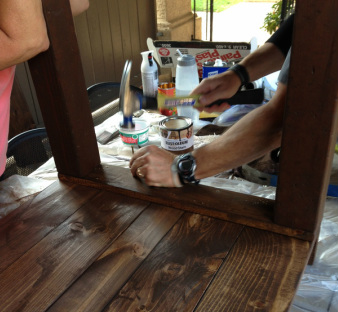
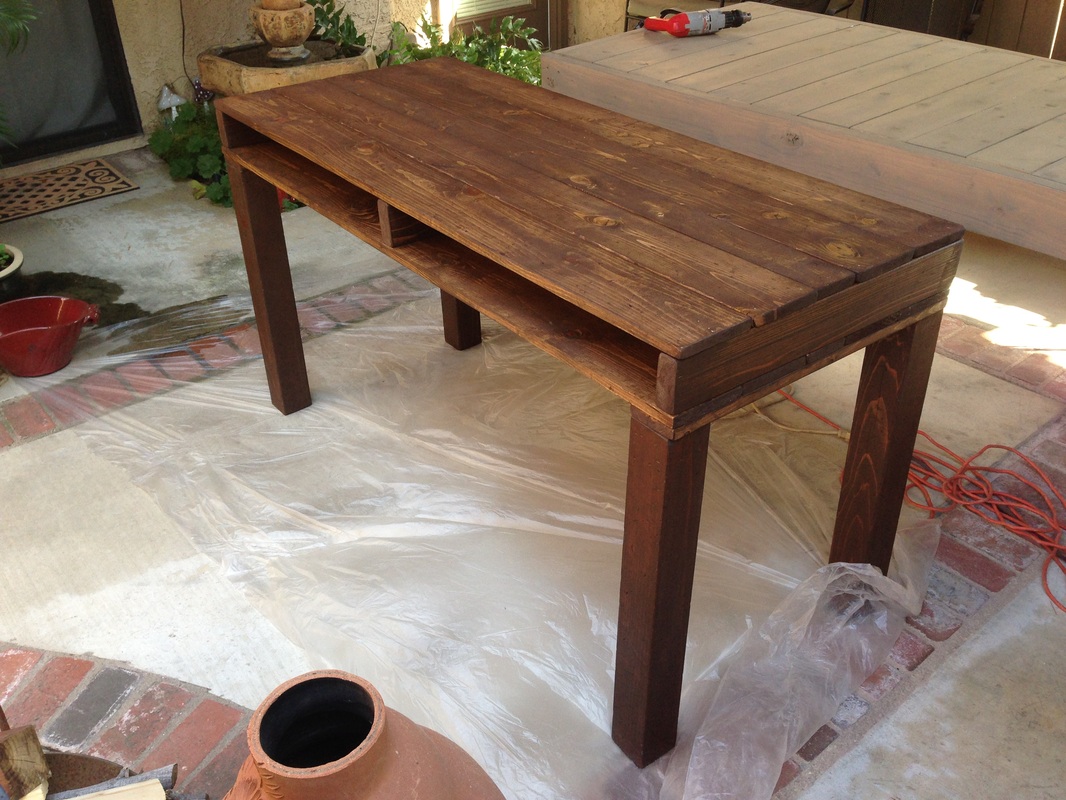
Step Four:
After you have stained all of the pieces, it's time to put it together. The first thing you will assemble is the leg pieces, shown below. You'll first attach both legs together, and the top will then be attached that.
 |  |
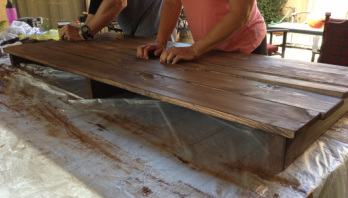
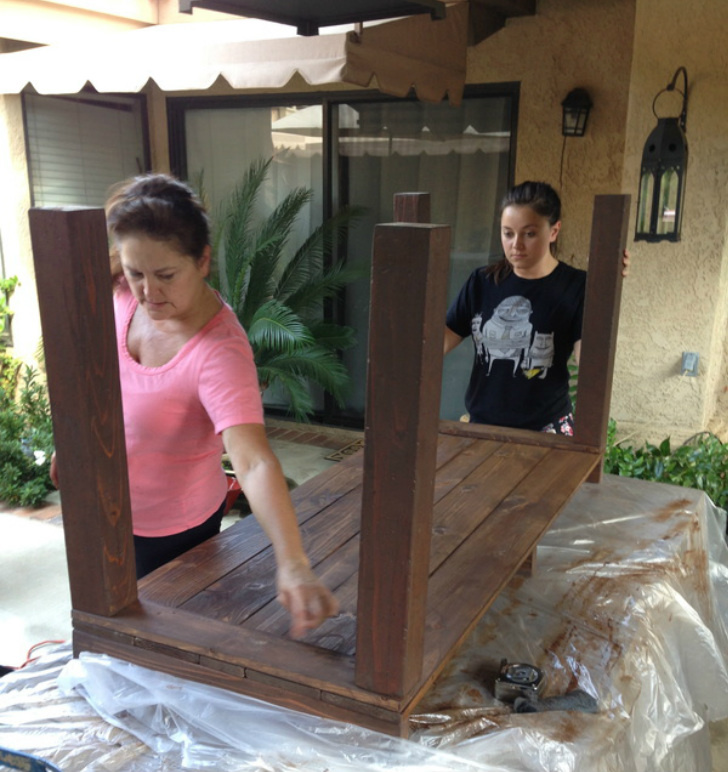
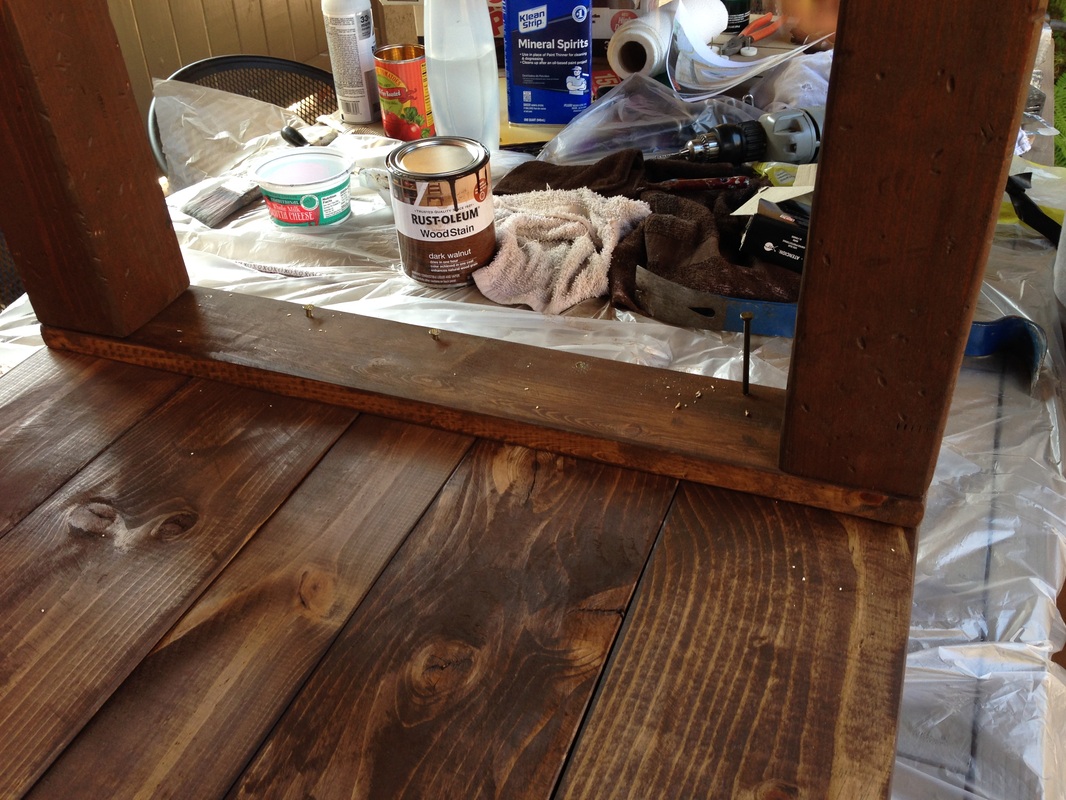
Step Five:
The next thing to do is assemble the top section, starting from the bottom, and then you will attach the legs to this section, flip it over and attach the top.
 |   |
 |  |

 RSS Feed
