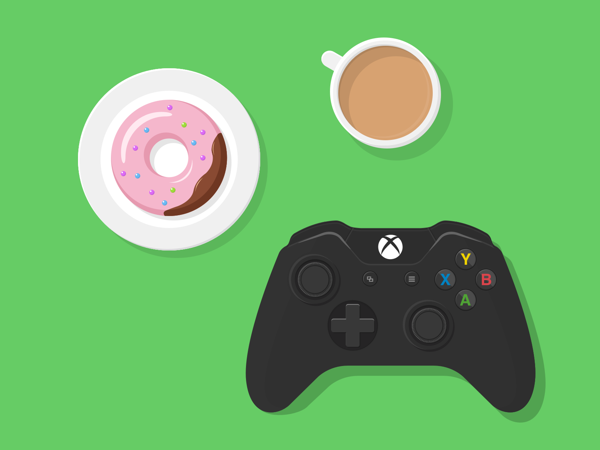
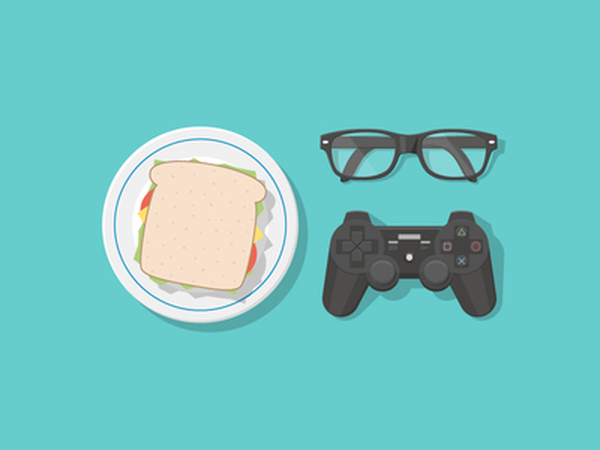
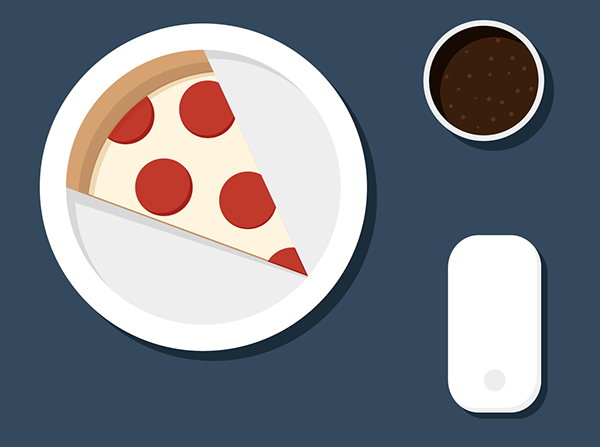
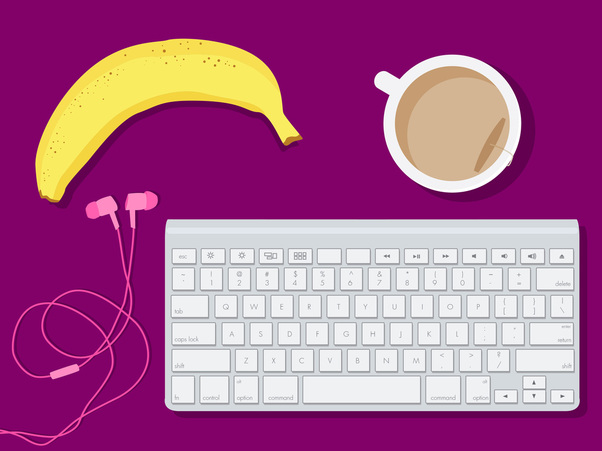
So my boyfriend Sean, who is also a designer, sent me a link for a new little project he did. He found this first image on Dribbble.com, called "Gamer Survival Kit", which was actually a response to the second image, "Ready to Play". The third image is Sean's response, so I decided to play along, and make my own version of "Desk Essentials", which you see at the very bottom. :)
For those of you that love a gel manicure, but don't want to pay the price, this is perfect for you! I love having my nails painted 24/7, but couldn't stand the almost immediate chipping that is sure to ruin your presh new mani. I was introduced to gel manicures about a year ago, and ever since then, normal polish just never did the trick. But being a college student, it's not like I had $40 laying around every 2 weeks to get a manicure. But if you can manage the $40 once, invest in an at home gel manicure set. The kit consists of a UV lamp, a base coat and top coat, and a polish color. You usually also get a bottle of acetone and some alcohol wipes, and its SO worth the price tag! The only bad part is that once you get the kit, you'll want to buy like every color gel... which can get expensive, because they run about $9-12 a bottle. But the way I think about it, is that you get at least 10 manis out of each bottle, so its like $1-2 per manicure, so its a good investment! I got my kit in September, and since then I've collected almost all the colors, so if you have any self control, you might do better than me at saving your bucks, but it is addicting! So anyways, keep reading for the How-tos, and tips and tricks!
TIPS & TRICKS What type to buy? Gel polish is mostly interchangeable. If you can buy it at a standard store, like Target, Walmart, etc., you can mix and match the base coats, top coats, and color polishes. As long as you have a UV lamp, it doesn't matter. My recommendation is to buy the most affordable kit, because they all have a UV lamp. Then, you can buy all the polishes separately. I have a Sally Hansen starter kit, but I have found that the "Sensationail" brand polishes last longer, so I typically go for that. Avoid the Skin: Do NOT get the polish on ANY of your skin, or cuticles. If you do, use your fingernail, or the little wooden stick to scrape it off the skin before you cure that layer. The reason why is that the areas on the skin will start to peel. DO NOT PICK! I know that it's SO tempting, but DO NOT pick your nails! Don't pick your cuticles, or your nails, or anything, because that is a sure way to ruin your manicure! Tend to your tips! When applying your polish layers, make sure to get the polish allllll over the nail. Don't leave any edges, corners or tips polish-less! After each coat, apply the polish along the edge of the tip, which makes it so the polish wraps all the way around the under part of the nail, and will not peel off as easily. Set Yourself Up: Make sure you have everything set up before you start. Plug in your lamp, lay out all of the polishes you're going to use, because once you start, you cannot really touch anything! HOW TO: I will start by saying that mastering the at home gel manicure is not easy. It took me a couple of months to actually get my manicure to last more than a week. But follow these steps, and my tips and it should last 10-14 days. 1. Start by taking your time to prep your nails. Trim and file them to the desired length, and shape. Then buff them until completely smooth. One of the most important things to do is tend to your cuticles! Using your fingernail or scraper, push the cuticles back and trim them off. 2. Start by using a gel primer. This is not a mandatory step, but it will protect your nails and make it so that they aren't paper thin when you take off the polish. 3. Then start with your base coat, and cure for 30 seconds in your lamp. 4. Next, apply the color, in thin coats, and do 3 coats. The directions usually tell you 2, but if you want that thick, shiny look that you get in the salon, go for 3 coats. Cure for 30 seconds after each coat. 5. Then top with the top coat, and cure for 1 minute. 6. Either rub with provided alcohol wipes, or use alcohol and a cotton ball. This removes the gooey residue that is left on the top. This is not an optional step, so make sure you have alcohol. So if you're anything like me, this trend might be a little bit intimidating to you. As much as I like to think I'm a fashion expert, sometimes trends scare me! If you're worried about looking like a crazed hippie, or like you forgot to change out of your pjs... don't worry, the key is to keep it simple, and ACCESSORIZE! Find some of these beauties and trust me, you wont regret it. They are likely the most comfortable pants I have ever owned! The best way to wear this trend is with a simple fitted tee, and a BIG, FUN necklace! Throw a hat or a denim jacket with it if you want to be an over-acheiver. Also, I think these are best with sandals. It is a casual look, so stay away from heels or wedges, unless you absolutely have to.
Check out how to wear these, and some links for some awesome and affordable options for this fun trend! Here's my recap of the amazing fashions seen at the Met Gala last night. Since there were too many amazing looks to just divide into best and worst, it seemed appropriate to add a couple other categories. Best and worst are musts, but I also added "most creative" in honor of some beautiful pieces looking more like art than fashion, and "best couples" for some uber chic couples that I had to give extra praise to. See my picks below: Worst Dressed:Most Creative:Best Couples:Best Dressed: |
WELCOME!
Thanks for visiting my blog! Enjoy! Archives
March 2016
Categories
All
|