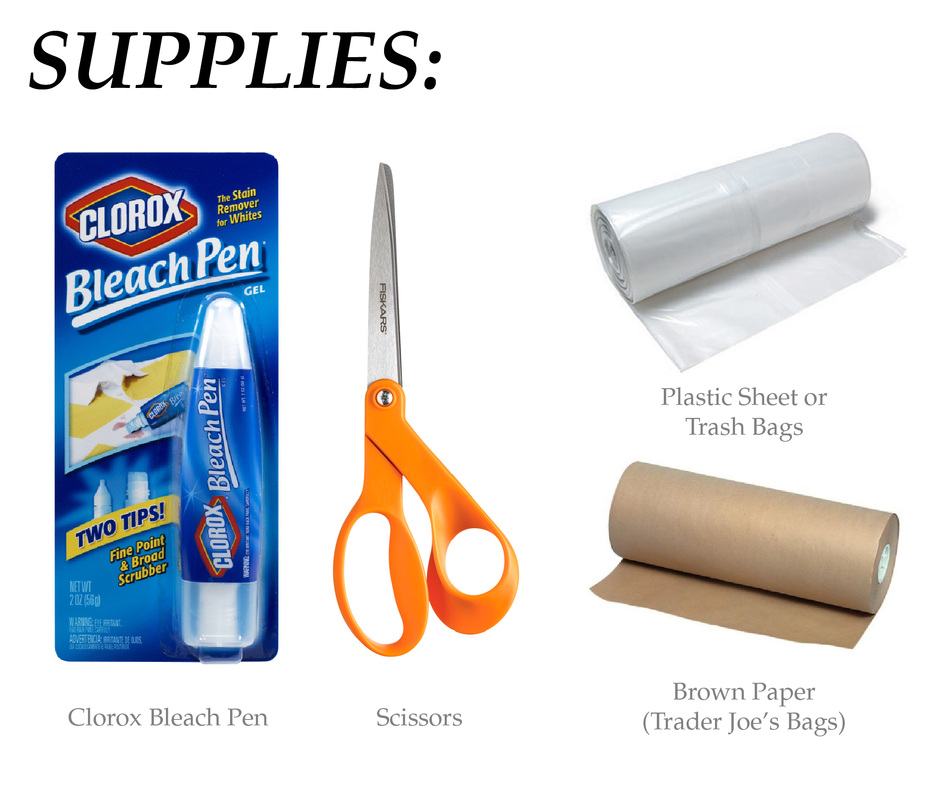
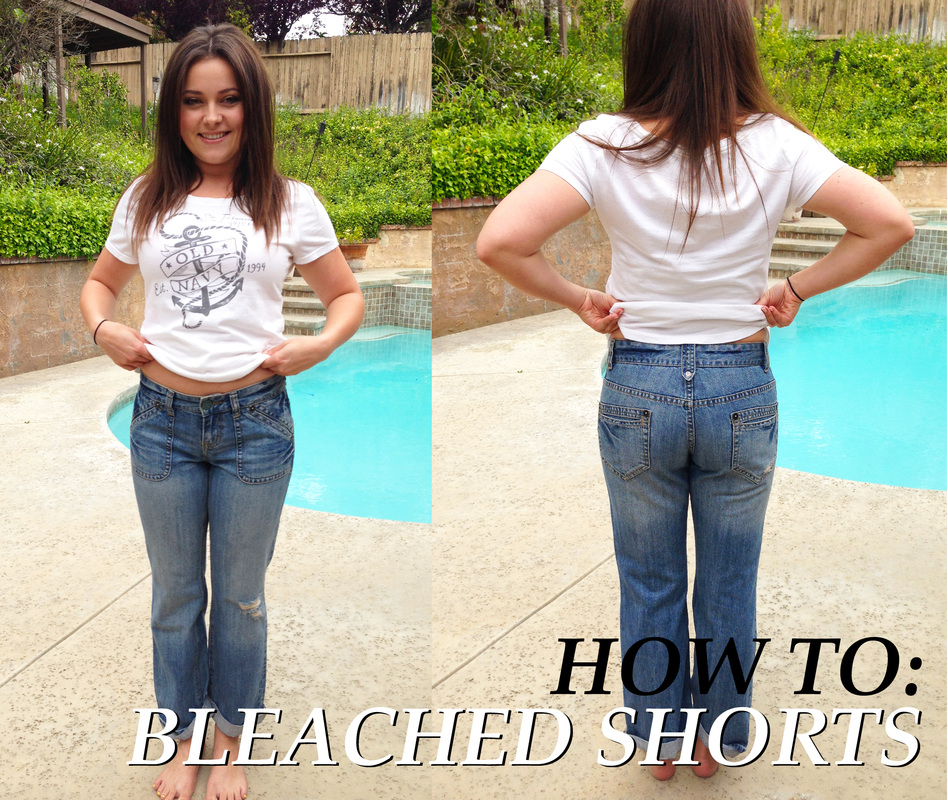
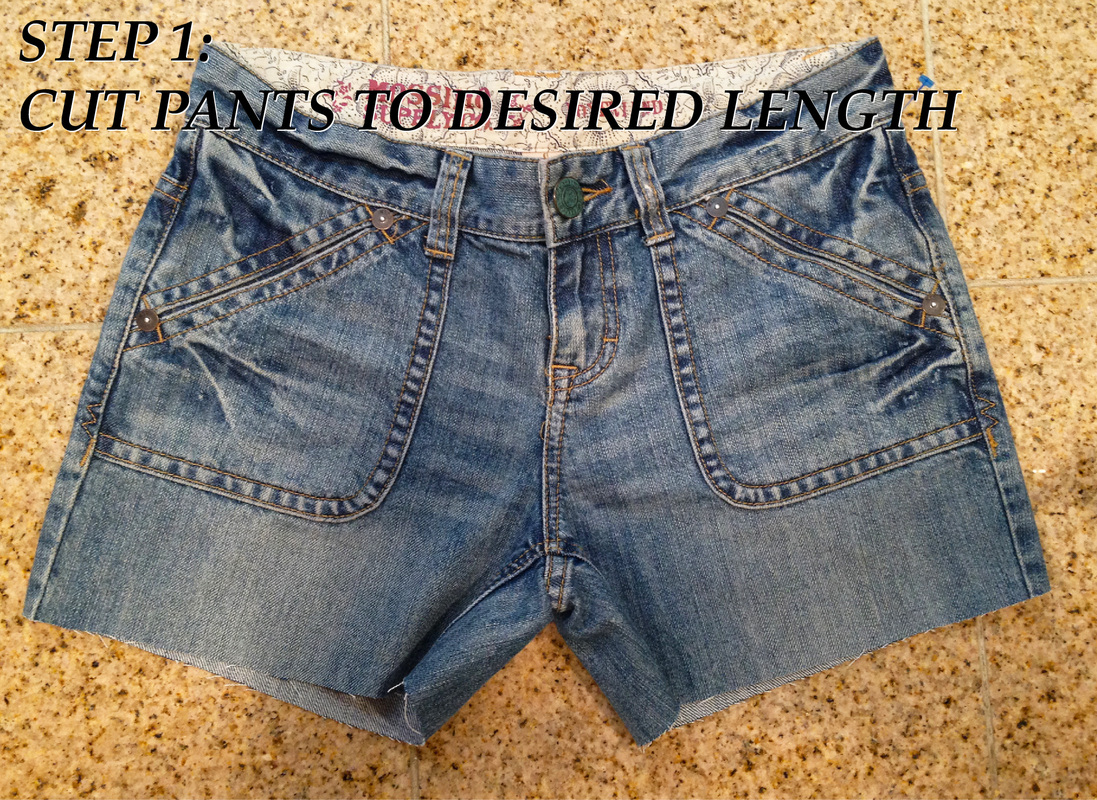
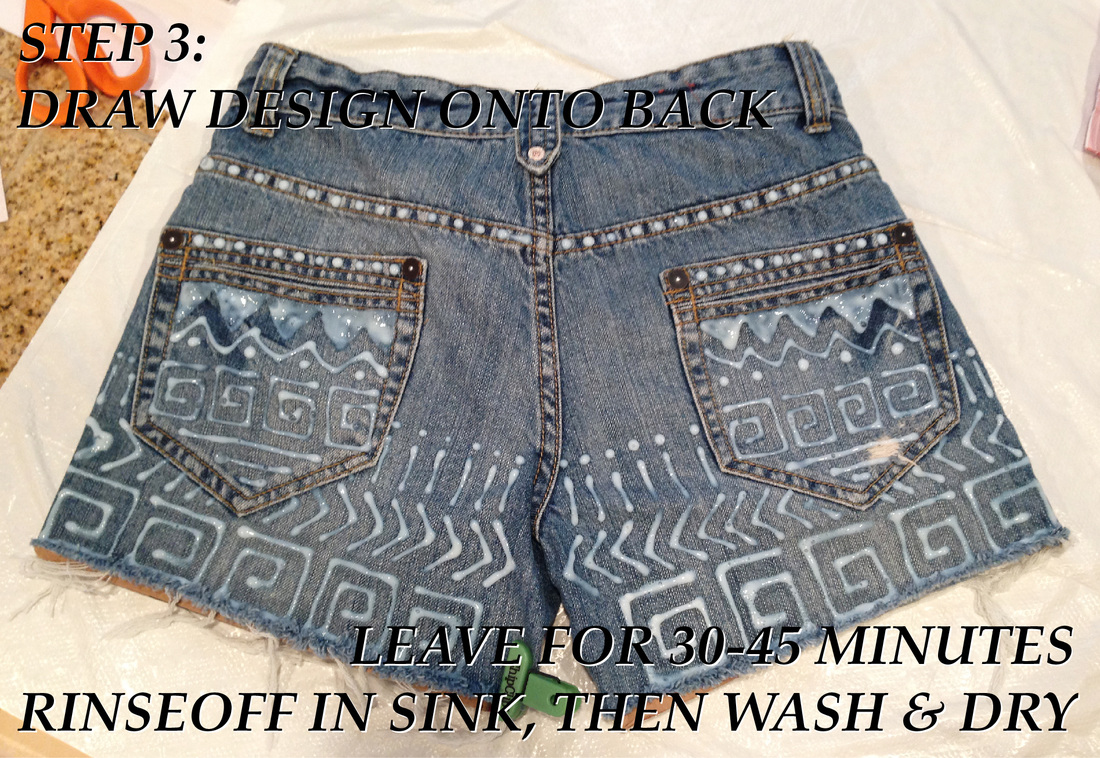
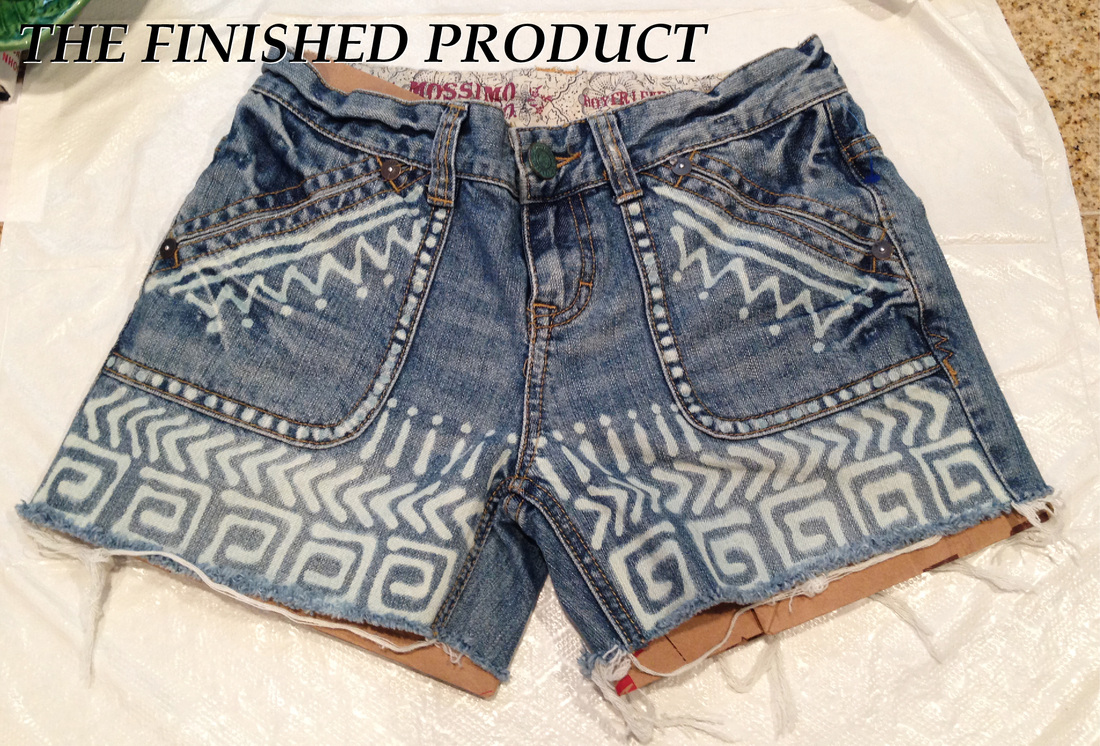
This is my latest DIY project. I found these jeans at goodwill for $8, and made them into some cool bleached design shorts that are totally fun for summer! So here is how you make them: Lay down some plastic over the surface you're working on to protect it. Start by trying on the pants and marking where you want to cut them off. You can use any type of pants really, but I would recommend using ones that are a bit looser in the thigh so that they don't fit too tight! After you cut them, stuff some brown paper or something to block the bleach from bleeding through to the other side into the legs. Then you just need to draw out whatever design you want onto the front of the shorts. Let it sit for about 30-45 minutes. If you're using pants that are not denim, but rather a thinner fabric, let it sit for less time, because it will eat through the fabric faster. When you're ready, wash off the bleach in the sink or tub, and then throw the shorts in the wash to get out the rest of the bleach, and dry completely. Repeat process on the back of the shorts, and when they are dry, you are all finished! Enjoy!
30 Comments
I hope everybody had a happy Easter weekend! Mine was full of cooking, family, and easter activities. :) I spent a lot of time cooking with my mom. The breakfast menu consisted of a frittata, cinnamon rolls, and fresh fruit! The afternoon was filled with coloring easter eggs with my sister, and pickling some green beans! For dinner we had a Prosciutto & Pear salad, ham, peas, twice baked potatoes, and some beautiful tricolor carrots shown below! We also enjoyed a pretty dinner table setting courtesy of my momma!
Yay! Weather Underground finally updated their logo, and revamped their mobile app and website. I definitely think this is a good update for them. Looking much cleaner, more intriguing and more fun! It looks like they took some inspiration from some of Google's product logos. Reminiscent of Google Wallet, Google Play, Google Drive. Overall, I think it makes this brand much more current, so good job WU!
Another awards show wrap up here, for the MTV Movie Awards that took place last night! The stars were taking a cue from the spring trends this year and taking their crop tops and longer length skirts for a spin. It definitely worked for some, but in some cases, didn't work so well. Take a look at my picks for best and worst dressed. Best DressedWorst DressedIt seems like Spring weather is finally here, and I'm starting to see a lot of fun Spring styles out there! Here's a roundup of some of my favorites, along with ways to wear them, and where to buy! Enjoy, fashionistas! Happy Tuesday! This weekend I worked on a little DIY craft that I wanted to share. This can be done with an old sweatshirt, or store bought. The key is that it needs to be BIG! I bought this little number at Walmart for a whopping THREE DOLLARS! The only tools you'll need are Scissors, a Seam Ripper, and a sewing machine. Want to learn how to make it? Keep Reading! Step 1: Start by removing the seam of your sweatshirt using a seam ripper. You will need to keep it so you can reattach half of it to the front of the sweatshirt. Step 2: Before you cut, try on your sweatshirt to figure out how much you will need to cut off. You will want it to be a little looser on the bottom, so cut more off the top section than the bottom. You will also want to cut the ribbed section off the sleeves, and cut a little off the bottom also so that its a little bit shorter in the front than on the sides. Once you cut it, sew the sides together. Step 3: You now need to reattach the hem to the front of the sweatshirt. I just pinned it to the edge and sewed it together, and then ran a top stitch right along seam to keep it laying flat. Step 4: Next, you will want to sew a hem on the back and the sleeves. Start by matching up the sides with the length of the ribbing on the front, so they match up on the sides. Just fold the back under and sew it. On the sleeves, you can reattach the ribbing, or, what i did was just fold the sleeves up about an inch and sewed it so it has a sort of raw edge. Finally, cut the back so that you get these long strips. You can do it just like I did, or you can do a different type of design. Get creative with this part! The final step is to wash the sweatshirt so that the edges can fray and roll a little bit, and its ready to wear!
If you haven't seen already, Radiant Orchid is the Pantone Color of the Year! If you are looking for a fresh new color to spice up your Spring wardrobe, look no further. Radiant Orchid is the way to go when it comes to housewares, accessories, clothing, and more! Looking for something to pair it with? Try combining it with florals and sparkles for an ultra feminine look. If thats not your style, try pairing it with denim or leather to spice it up a bit! Need some color combo inspiration? Try Mint, Taupe, or green for a fresh new look!
|
WELCOME!
Thanks for visiting my blog! Enjoy! Archives
March 2016
Categories
All
|